NVIDIA Stereo Detonators
If you have a NVIDIA based 3D Accelerator and compatible 3D Glasses then
the ELSA Generic REVELATOR drivers are the best choice for
NOTE: This document is a work in progress and will be updated
as needed. If you find any info that is not clear or missing please let us
know on our 3d
glasses Forum and we will try to include or correct the information.
Last Updated 06/25/2001
Finally after months of hearing about rumored Stereo drivers and
control panels from NVIDIA we finally have some proof of the progress that has
taken place. I have spent quite some time with the new 12.41 drivers and stereo
control panel and have been quite pleased.
Preparation
The first thing you have to do before installing any video driver is
to remove your old drivers but if you have been using the generic ELSA REVELATOR
driver you will have a few extra steps. First off you will want to uninstall the
revelator drivers. If you are working with a fresh install of windows and
haven't had a video driver loaded skip straight to installation. If you
haven't had the ELSA REVELATOR installed then skip to step 6.
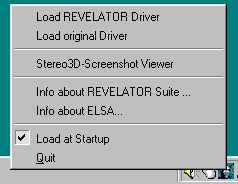
1. Using the REVELATOR icon in the task tray load the original
driver and then reboot.
2. Open Control Panel and Add/Remove programs.
3. Uninstall ELSA REVELATOR Suite
4. Uninstall ELSA REVELATOR Driver.
5. Uninstall ELSA Display Driver.
6. Open Display Properties then click the advanced button and
select the adapter tab and click change.
7. Change to the Standard VGA driver and reboot your machine.
8. In Add/Remove Programs uninstall the NVIDIA Win9X drivers.
9. Open REGEdit and delete the key - HKEY\Local
Machine\Software\NVIDIA Corporation\Global\Stereo3D.
Installation
Now that we have successfully removed the old drivers we can easily install the
12.40 drivers.
1. Unzip the 12.41 drivers to a temporary directory on your hard
drive.
2. Open display properties then click the advanced button and
select the adapter tab and click change.
3. Select that you want to pick the driver from a list and then
click have disk.
4. Select the directory where you unzipped the 12.41 drivers.
5. Reboot when the driver is finished installing and it prompts
you to.
6. Unzip the stereo driver to a temporary directory on your hard
drive.
7. Right click the nvidia.inf and select install.
8. Open display properties and click the advanced tab and you
should have the stereo tab below.

The first time you open the Stereo Properties Stereo will be
disabled and you will have to enable it. The first time you enable stereo
support it will draw a Medical test image to see if you can correctly see stereo
images.
After you have enabled stereo mode you will want to set the
Monitor size and then go through a series of stereo tests to set the refresh
rates at all the resolutions you will be using. Set the resolution bar to a
resolution and then set the refresh rate for that resolution and then click the
Launch Test App button to test the settings. If the settings are ok then
hit F6 to save that resolutions refresh rate.
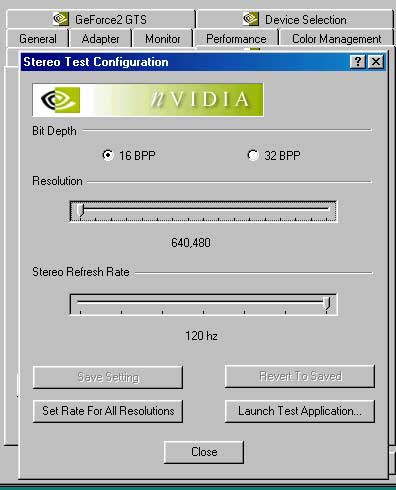

Stereo Test Image
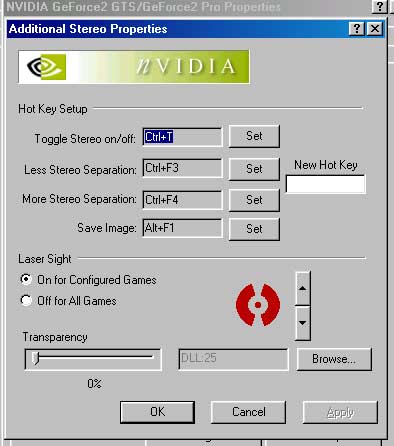
After you test all your resolutions you can use the additional properties dialog
box to set your hotkeys and the laser sight that you would like to use for games
that need it.
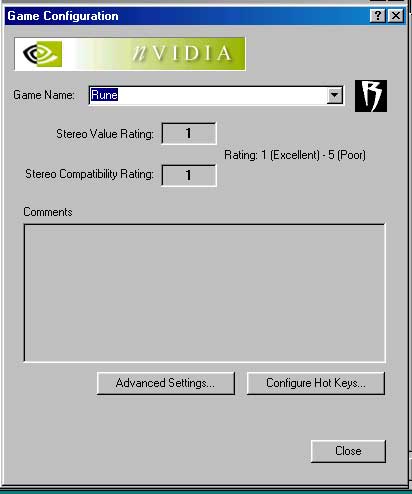
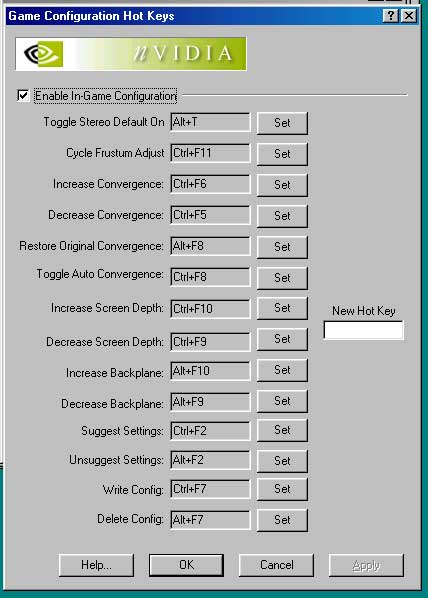
You can also set hot keys on a game by game basis which is really handy for
games that the normal hotkeys just don't seem to work well with.
This is the panel for setting different hotkeys per game
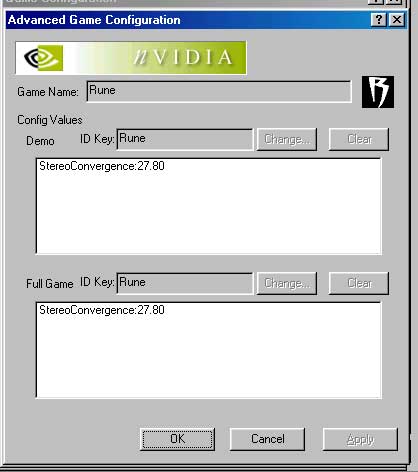
This is the advanced Game Configuration Panel which is pretty self explanatory.
Well thats about it for the little tour. I hope you enjoy the
NVIDIA Stereo drivers and with any luck we will be seeing an official release
soon.
|

